Setup Android Development with Eclipse on Mac
In this short tutorial we'll walk through the process of installing and setting up the tools necessary for Android development with Eclipse on Mac OS X (Lion)
Download Eclipse Classic for Mac from the Eclipse download page.
Extract the .tar.gz file by, for example, locating it in Finder and double clicking on it. Drag the eclipse folder that was created to the Applications folder.
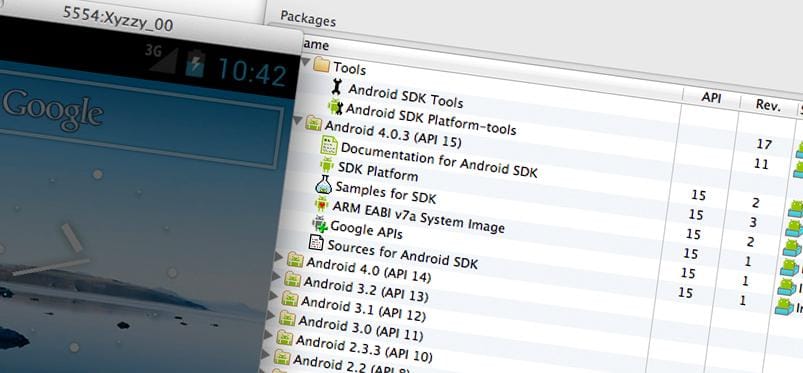
Download the Android SDK for Mac from the Android SDK download page.
Extract the .zip file and move the created android-sdk-macosx directory to somewhere you wish to keep it on your system (for example, ~/android-sdk-macosx).
Include the Android tools in your path by adding the following to your ~/.bashrc file, replacing {user} with your username or otherwise modifying the path to match where the SDK folder was moved.
export PATH=$PATH:/Users/{user}/android-sdk-macosx/tools:/Users/{user}/android-sdk-macosx/platform-toolsRun Eclipse and go to the Help menu and Install new software...
Click the Add... button at the top right of the Install dialog, enter the following details and then click OK.
Name: ADT Plugin Location: https://dl-ssl.google.com/android/eclipse/
Ensure the ADT Plugin is listed in the Work with drop-down and once the software list has been updated check the box next to Developer Tools. Click through, agree to the licenses as applicable and allow the items to install.
Restart Eclipse and you are ready to produce your Android apps.